
 There is an awesome prize this week from Simon Says Stamp! Please head over there to check out all of their fabulous merchandise!
 Onto my cards... This first card didn't go so well for me, but I have decided to share it anyway.
I absolutely loved this Christmas tree stamp when I saw it. It is from Martha Stewart. But I could not get it to stamp cleanly. I threw away about 10 cards prior to just finally accepting this one even though I am not happy with it. If any of you have any tips for these large types of stamps with all of the details, please share them with me!
 I used Scor-tape around the edge and added glitter for some sparkle.
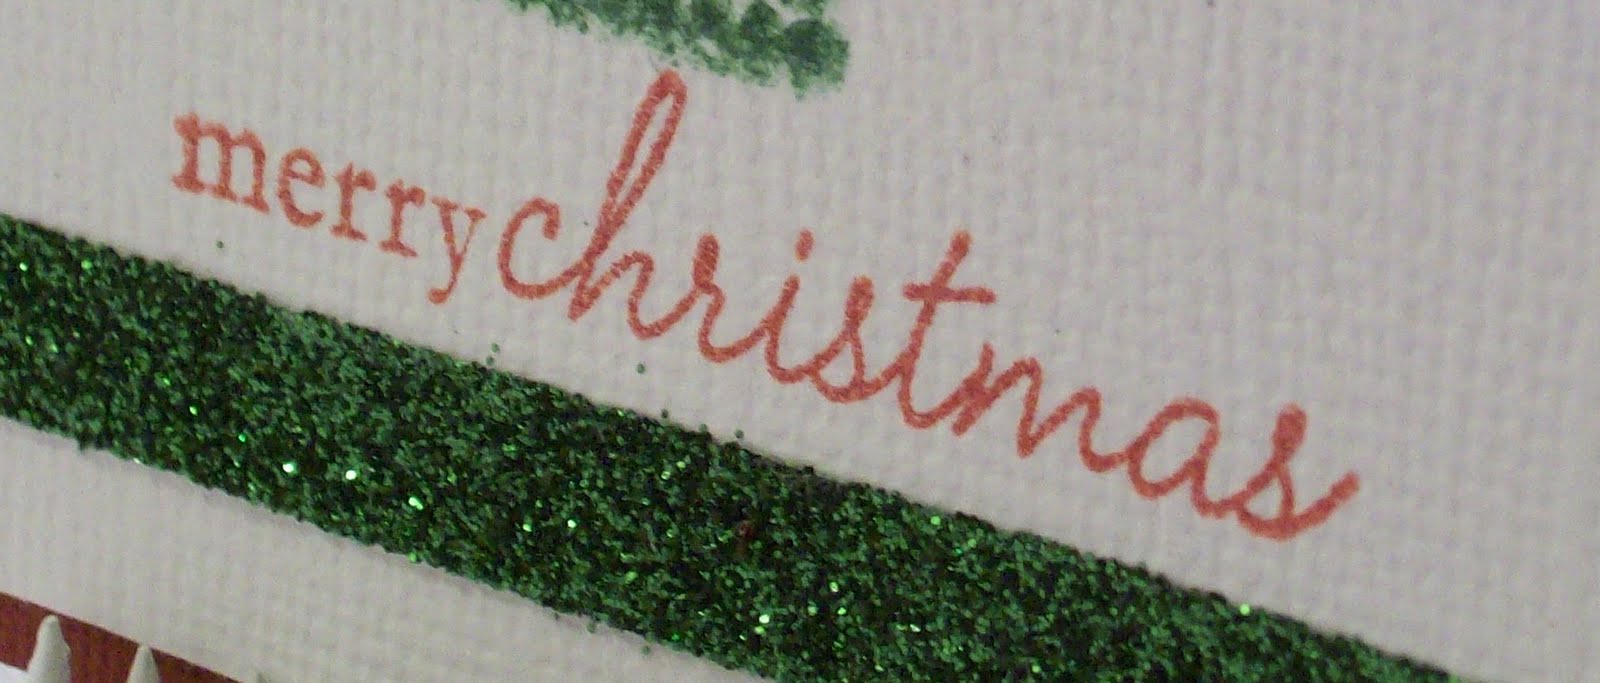 I am much happier with this second card!
 I started with a white background. I embossed the top half with the Cuttlebug Victoria folder. But before I embossed, I inked the folder with green Stampin Up ink. That technique gives a really interesting effect.
 The "image" in the middle is from the Papertrey Ink Holiday Button Bits set. That set includes a bunch of images where you incorporate buttons as part of the image - pretty cool!
 I used the Fiskars Apron Lace punch on the bottom and I also embossed with 2 border embossing folders from the Cuttlebug Border Frills set. Of course I had to add some twine with glass beads because I have been on a glass bead kick lately.
 The sentiment stamp is also from Papertrey Ink Holiday Button Bits.
If you get a chance, please check out all of the other design team members blogs. These ladies are so talented - you will find tone of inspiration on their blogs!
{Merry Christmas Details}
Cardstock: Bazzill Basics
Stamp: Martha Stewart, Papertrey Ink Button Bits
Ink: Stampin Up Garden Green, Stampin Up Ruby Red
Misc: Scor-tape, glitter, gems
{Sending Holiday Cheer Details}
Cardstock: Bazzill Basics
Stamps: Papertrey Ink Holiday Button Bits
Ink: Stampin Up Garden Green
Embossing: Cuttlebug Victoria folder, Cuttlebug Border Frills
Misc: grosgrain ribbon, twine, glass beads, buttons
11 comments:
Ok, first of all you need to tell us all how you tie those beautiful bows ?!!!! Fantastic !
I just love both of your cards, both are just stunning. Love the embossing and how you have inked the folder, brilliant effect. Love your glass beads too - so different.
Thank's so much for your inspiration week after week.
Hugs,
Jo xxx
Those cards came out lovely. I too have the same problems with stamps tho.
Adore the Buttons, I did one similar =)
fabulous cards Deanne, I love that muted green its fab, by the way the little spiky thing (technical term) you photograph your cards on is a nifty little gadget
Mina xxx
Deanne, just GORGEOUS cards!! I just love coming over to your blog to see what you have created - you never disappoint!
Deanne xo
Gorgeous cards, Deanne
Your details is just fabulous.
I love them both!
Try using a thin piece of fun foam under your paper. Sometimes it just needs that little extra cushion.
Karen x
Two fabulous cards, love the elegance of the first and the inking and embossing on the second is superb. (I've never manage to come up with anything worth using -lessons please). Gorgeous details - I love your beaded twine.
hugs Heather xx
Deanne, these are gorgeous cards!! Love them both! This is a very great style!
Simone
Your cards are so beautiful!!!
Wow, I'm glad I clicked over here from the message boards. You are a great and talented artist!!
Thanks for explaining how to get that color in the background of the embossed image. It looks sooooo good! I just love it! Beautiful cards as usual with all your wonderful details! Hugs, Dena
Hi Deanne. Followed the link to here on the Pink Petticoat site - well done for your lovely winning box! Using a big stamp it can help to lay it upside down and ink it up well. Then lay your card pice on it and roll your brayer over it carefully a couple of times. Hope it works for you.
Post a Comment